Creating Shipments
Processing shipments is the core of the Shipmondo API, and in this guide we will explore how to create a basic shipment.
Selecting your product
Before creating the actual shipment request, you must determine which product you should use for the shipment.
To find a list of available products you can either log in to the Shipmondo Webportal or you use the /products endpoint.
Using the Shipmondo Webportal
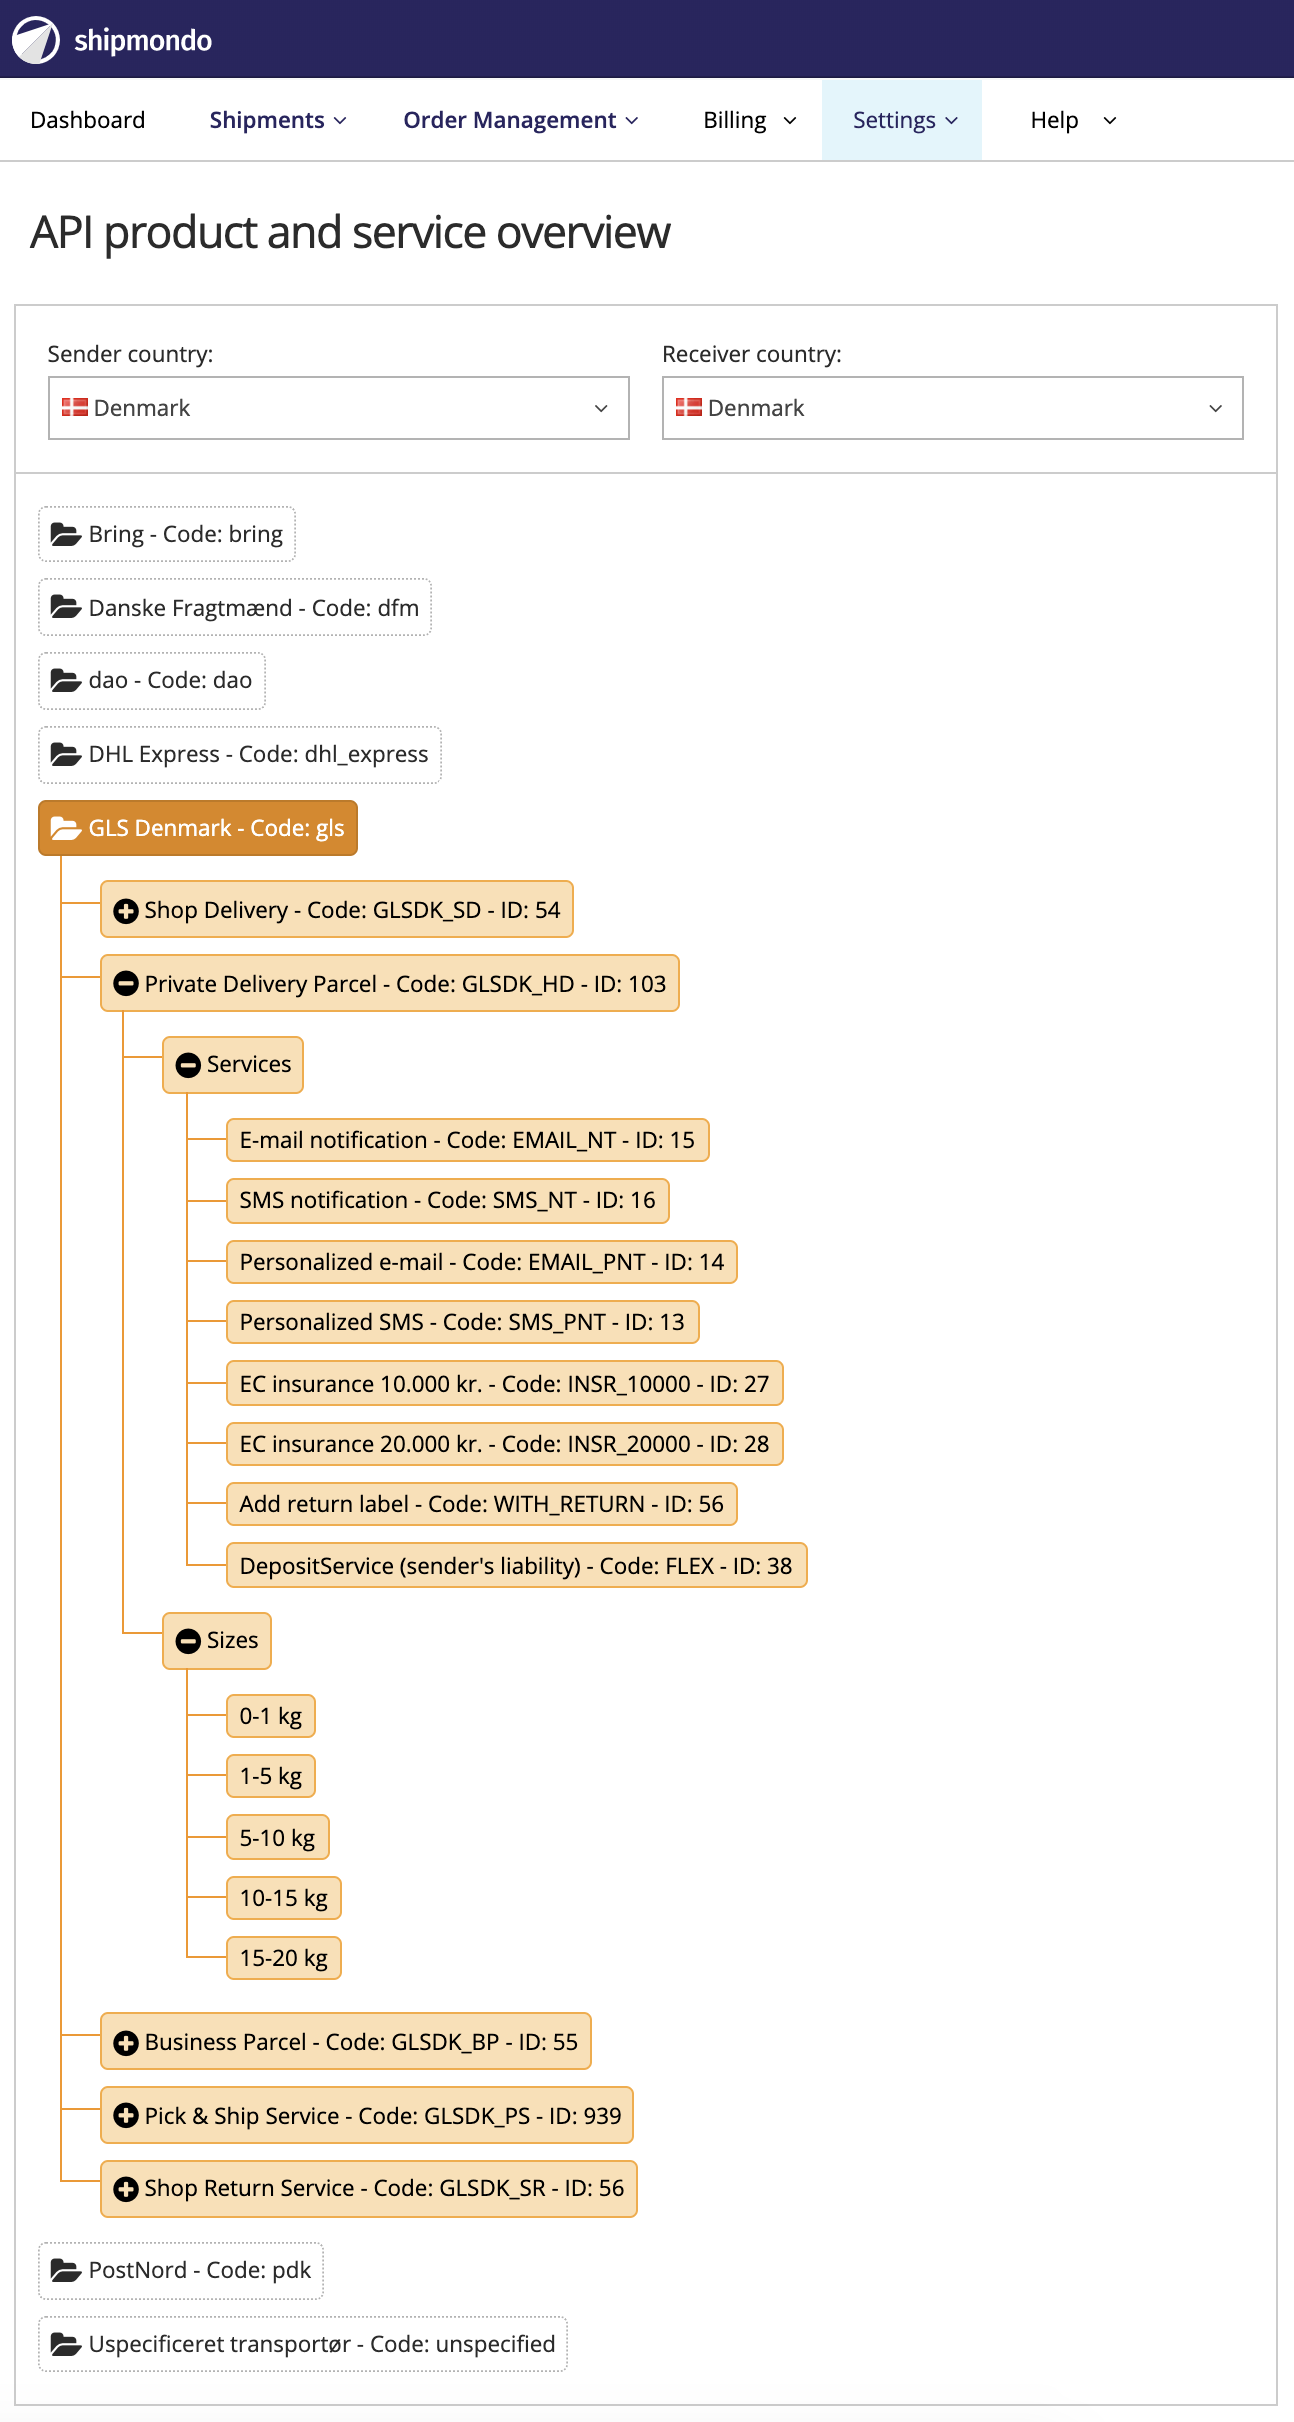
Log in to your Shipmondo account and go to Product and service overview.
Select sender country and receiver country from the dropdown. You will now get a list of available products for your Shipmondo account.

Using the /products endpoint
By providing a country_code (ISO 3166-1 alpha-2) as a parameter, we get an array of products for the specified country. In this example we decide to use the following product:
{
    "code": "GLSDK_HD",
    "id": 103,
    "name": "Omdeling til privat",
    "available": true,
    "own_agreement_available": true,
    "required_fields": null,
    "carrier": {
      "code": "gls",
      "name": "GLS"
    },
    "destination_country": {
      "code": "DK",
      "name": "Denmark",
      "customs_declaration_required": false
    },
    "available_services": [
      {
        "code": "SMS_NT",
        "id": 16,
        "name": "SMS advisering",
        "required_fields": "receiver_mobile"
      },
      {
        "code": "EMAIL_NT",
        "id": 15,
        "name": "E-mail advisering",
        "required_fields": "receiver_email"
      }
    ],
    "required_services": [
      {
        "code": "EMAIL_NT",
        "id": 15,
        "name": "E-mail advisering",
        "required_fields": "receiver_email",
        "note": "E-mail advisering er påkrævet ved GLS"
      }
    ],
    "weight_intervals": [
      {
        "from_weight": 5000,
        "to_weight": 10000,
        "description": "5kg til 10kg"
      },
      {
        "from_weight": 0,
        "to_weight": 1000,
        "description": "0kg til 1kg"
      },
      {
        "from_weight": 1000,
        "to_weight": 5000,
        "description": "1kg til 5kg"
      }
    ]
}
We need the following values from the product data:
- code describes what product should be used.
- available_services describes what services are available for the product.
- required_services describes what services are required for the product.
- weight_intervals describes the available weight intervals for the product.
The product_code that we need to declare in our request is GLSDK_HD. The product_code also automatically determines the carrier. This particular product has a required service, that we should add to our shipment request. This is achieved by using the code, in this case EMAIL_NT. From the weight_intervals, we can determine that we can ship up to 10 kg.
Printing a shipping label
Before we can get to posting our shipment request, we need to find a specific printer we can print our result label on. This step is optional, and assumes that you have set up a print client on your account. You can find more information on setting up printers here.
To find the printers that you have added to your account, you have to look at the /printers endpoint. The response contain the host_name, printer, and label_format, which we need for the shipment request.
{
  "name": "Warehouse Printer 02",
  "host_name": "WAREHOUSE-PC-01",
  "printer": "GK420D",
  "label_format": "zpl"
}
Creating the shipment request
Now we have the required information to create our shipment. It should look like this:
{
  "own_agreement": false,
  "product_code": "GLSDK_HD",
  "service_codes": "EMAIL_NT",
  "parties": [
    {
      "type": "sender",
      "name": "Shipmondo",
      "address1": "Hvilehøjvej 25",
      "postal_code": "5220",
      "city": "Odense SØ",
      "country_code": "DK",
      "email": "firma@email.dk",
      "phone": "70400407"
    },
    {
      "type": "receiver",
      "name": "Lene Jensen",
      "address1": "Vindegade 112",
      "postal_code": "5000",
      "city": "Odense C",
      "country_code": "DK",
      "email": "lene@email.dk",
      "phone": "50607080"
    }
  ],
  "parcels": [
    {
      "weight": 2000
    }
  ],
  "print": true,
  "print_at": {
    "host_name": "LAPTOP-PKL",
    "printer_name": "GK420D",
    "label_format": "zpl"
  },
  "reference": "Order 41"
}
From the the product, we insert the product_code and the service_codes. If there are more than one service_code, it is separated by a comma. We have also created a parcel array, which determines the weight of a package, in this case 2 kg declared in grams.
To get the label printed to a specific printer, we use the information we retrieved from the /printers endpoint under the print_at object and we set print to true.
Lastly we fill out our sender and receiver information in their respective parti in the parties array. We can now post our shipment request. If it is succesful, a finished shipment object should be returned as a response.